
Simple Mandala Designs: Your Soothing Art Practice
Introduction
Have you ever found yourself doodling circular patterns when feeling stressed? That instinctive urge might be your mind seeking the calming effects of mandala creation. Mandalas—circular designs with repeating patterns—have been used for centuries as tools for meditation and artistic expression. If you’ve admired these beautiful designs but thought they might be too complicated to create yourself, you’re in for a pleasant surprise. This guide will walk you through creating simple mandala designs that can become your personal art therapy practice, regardless of your artistic background.
Table of Contents
- Understanding Mandalas: The Basics
- Gathering Your Tools
- Setting Up Your Mandala Framework
- Creating Your Design
- Final Touches
- Quick Wellness Questions
- Finding Your Path Forward
Understanding Mandalas: The Basics
The word “mandala” comes from Sanskrit, meaning “circle” or “center.” Traditional mandalas feature geometric patterns that radiate from a central point, creating a sense of harmony and balance. While they have deep spiritual significance in many cultures, today they’re also appreciated as a form of mindful art practice that anyone can enjoy.
The Wellness Connection
Creating mandalas engages both hemispheres of your brain, promoting relaxation and focus. The repetitive nature of drawing patterns can induce a meditative state similar to mindfulness practices. Many women find mandala drawing particularly helpful during times of stress or when seeking clarity.
Gathering Your Tools
One of the beauties of mandala art is its accessibility—you don’t need expensive materials to begin. Here’s what you’ll need for your first simple mandala designs:
Basic Supplies
- Paper (white or lightly colored)
- Pencil
- Eraser
- Compass or round object to trace (like a glass or bowl)
- Ruler
- Fine-tip pens or markers (optional, for final outlining)
- Colored pencils or markers (optional, for coloring)
If you’re just starting out, regular printer paper works perfectly well. As you develop your practice, you might want to experiment with different paper textures and weights.
Setting Up Your Mandala Framework
Creating a simple framework is the foundation of any mandala design. This structure will guide your pattern-making and help maintain symmetry.
Step 1: Draw Your Center Point
Place a small dot in the center of your paper. This will serve as the heart of your mandala from which all patterns will emerge.
Step 2: Create Concentric Circles
Using a compass (or tracing around circular objects of different sizes), draw 2-3 circles around your center point. These circles will serve as guides for your patterns. Start with circles about 1-2 inches apart, though you can adjust based on your preference.
Step 3: Add Guiding Lines
Draw straight lines through your center point, dividing your circles into equal sections. For beginners, dividing into 8 sections (like slicing a pizza) creates a manageable framework. Draw a vertical line through the center, then a horizontal one, followed by two diagonal lines crossing through the center.
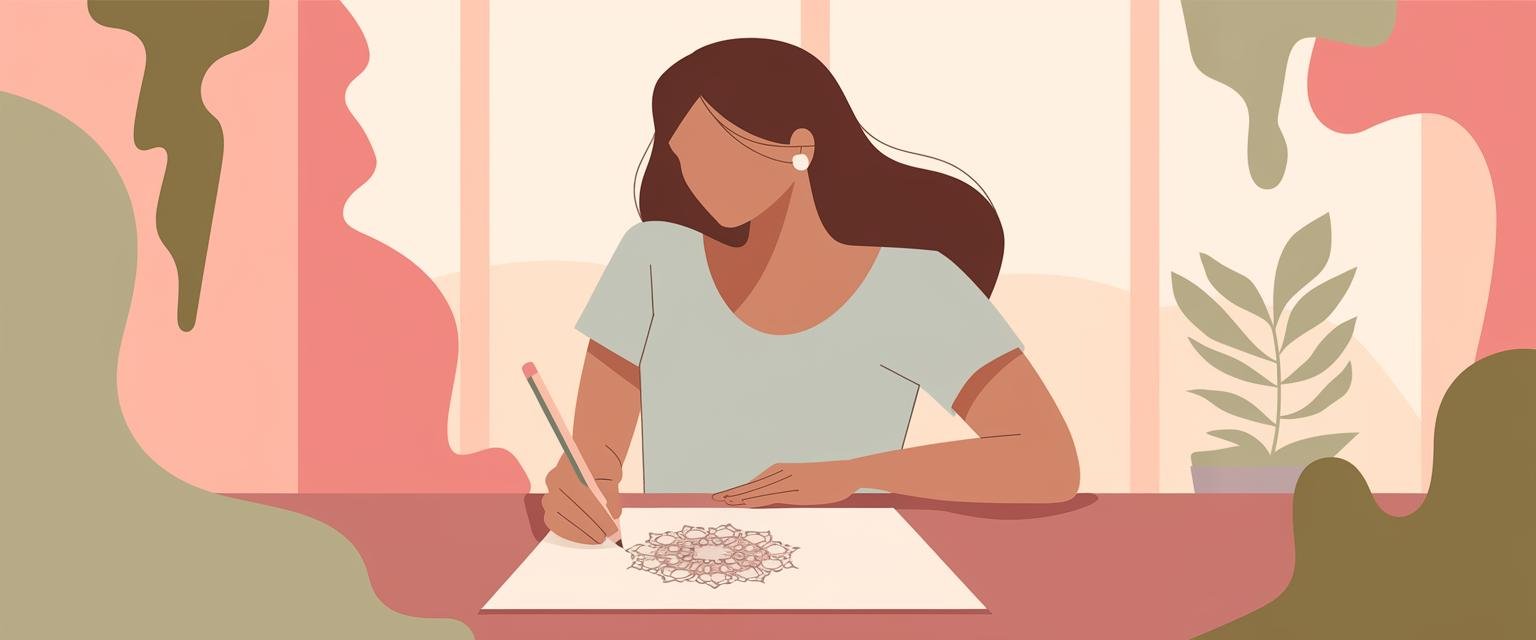
Creating Your Design
Now comes the creative part—filling your framework with patterns. Remember, there are no mistakes in mandala creation, only opportunities for unique designs.
Start from the Center
Begin at the center of your mandala with a simple shape—a circle, flower, star, or any design that speaks to you. Working outward helps maintain balance and focus in your design.
Add Simple Patterns
Move outward to the next circle and add a repeating pattern. Here are some beginner-friendly elements to try:
- Petals: Draw simple curved shapes that connect to form flower-like patterns
- Dots: Create dotted patterns along your guidelines or between sections
- Triangles: Small triangles pointing inward or outward create interesting textures
- Scallops: Semi-circles that create a wave-like border
- Simple leaves: Teardrop shapes arranged in patterns
Repeat and Reflect
The key to mandala symmetry is repeating each element in every section you’ve created. After adding a design element to one section, reproduce it in all other sections before moving to a new pattern. Work slowly and breathe steadily—this is where the meditative quality emerges.
Final Touches
As your mandala design fills out, you’ll begin to see the beauty of your creation taking shape. These final steps will help complete your mandala practice.
Outlining
Once you’re satisfied with your pencil design, you might choose to trace over it with fine-tip pens or markers. This step is optional but can make your patterns stand out more clearly.
Adding Color
Coloring your mandala can be another opportunity for mindfulness. You might choose a color scheme that reflects your mood or use colors intuitively. Some prefer to leave their mandalas as line art, which has its own elegant appeal.
Embracing Imperfections
Notice any urges to be “perfect” in your creation. Mandala drawing isn’t about perfection—it’s about the process. Asymmetries and unexpected turns often create the most interesting and personal designs.
Quick Wellness Questions
Q: How can I start learning mandala art as a beginner?
A: Start with simple patterns using basic tools like paper and pencil. Focus on the process rather than the outcome. Begin with a basic framework of circles and division lines, then add one pattern at a time, working from the center outward. Remember that consistency in repeating patterns is more important than complexity.
Q: What are easy mandala patterns to start with?
A: Begin with basic shapes like dots, lines, circles, petals, triangles, and simple curves. Arrange these in repeating patterns around your guide circles. As you gain confidence, you can combine these elements to create more intricate designs. Remember that even the most complex mandalas are built from simple components.
Q: Do I need special tools to draw mandalas?
A: Not at all! While specialized tools exist, you can create beautiful mandalas with just paper, pencil, and something round to trace (like a glass). A ruler helps with dividing your circle evenly. As you develop your practice, you might want to explore fine-tip pens, colored pencils, or a proper compass, but these aren’t necessary to begin.
Q: What if I keep making mistakes in my pattern?
A: In mandala creation, there are no true mistakes—only opportunities for creative adaptation. If a line doesn’t go where intended, incorporate it into your design or gently erase if using pencil. Many artists find their most unique designs emerge from unexpected turns. Remember that the process itself—the mindful creation—holds the greatest benefit.
Finding Your Path Forward
Creating simple mandala designs offers more than just artistic expression—it provides a doorway to mindfulness that fits easily into your daily life. Whether you have five minutes or an hour, this practice can become a reliable way to center yourself amidst life’s complexities. As you continue exploring mandala creation, you’ll develop your own unique style and favorite patterns. The real magic happens not in the finished artwork, but in those moments of calm focus as you draw.
Why not start today? Set aside just 15 minutes with the basic supplies you already have at home. Draw your first simple mandala, and notice how it feels to create something beautiful one stroke at a time.
Subscribe to our newsletter for weekly wellness tips and mindful practices from Hey Mandala.